Comparing revisions with overlays
Lay one page over another with a tinted overlay, align it, and spot what changed.
When a new revision lands, the question is always the same: what changed? Notch answers it with page overlays — a tinted copy of one page laid over another, so differences pop as color.
Add an overlay#
- Open the current sheet and switch the right sidebar to the Overlays panel.
- Click add and pick the source — any page from the same document or another document in your workspace.
- The source page drops onto your sheet as a tinted layer. White areas turn transparent, so only the line work carries color.
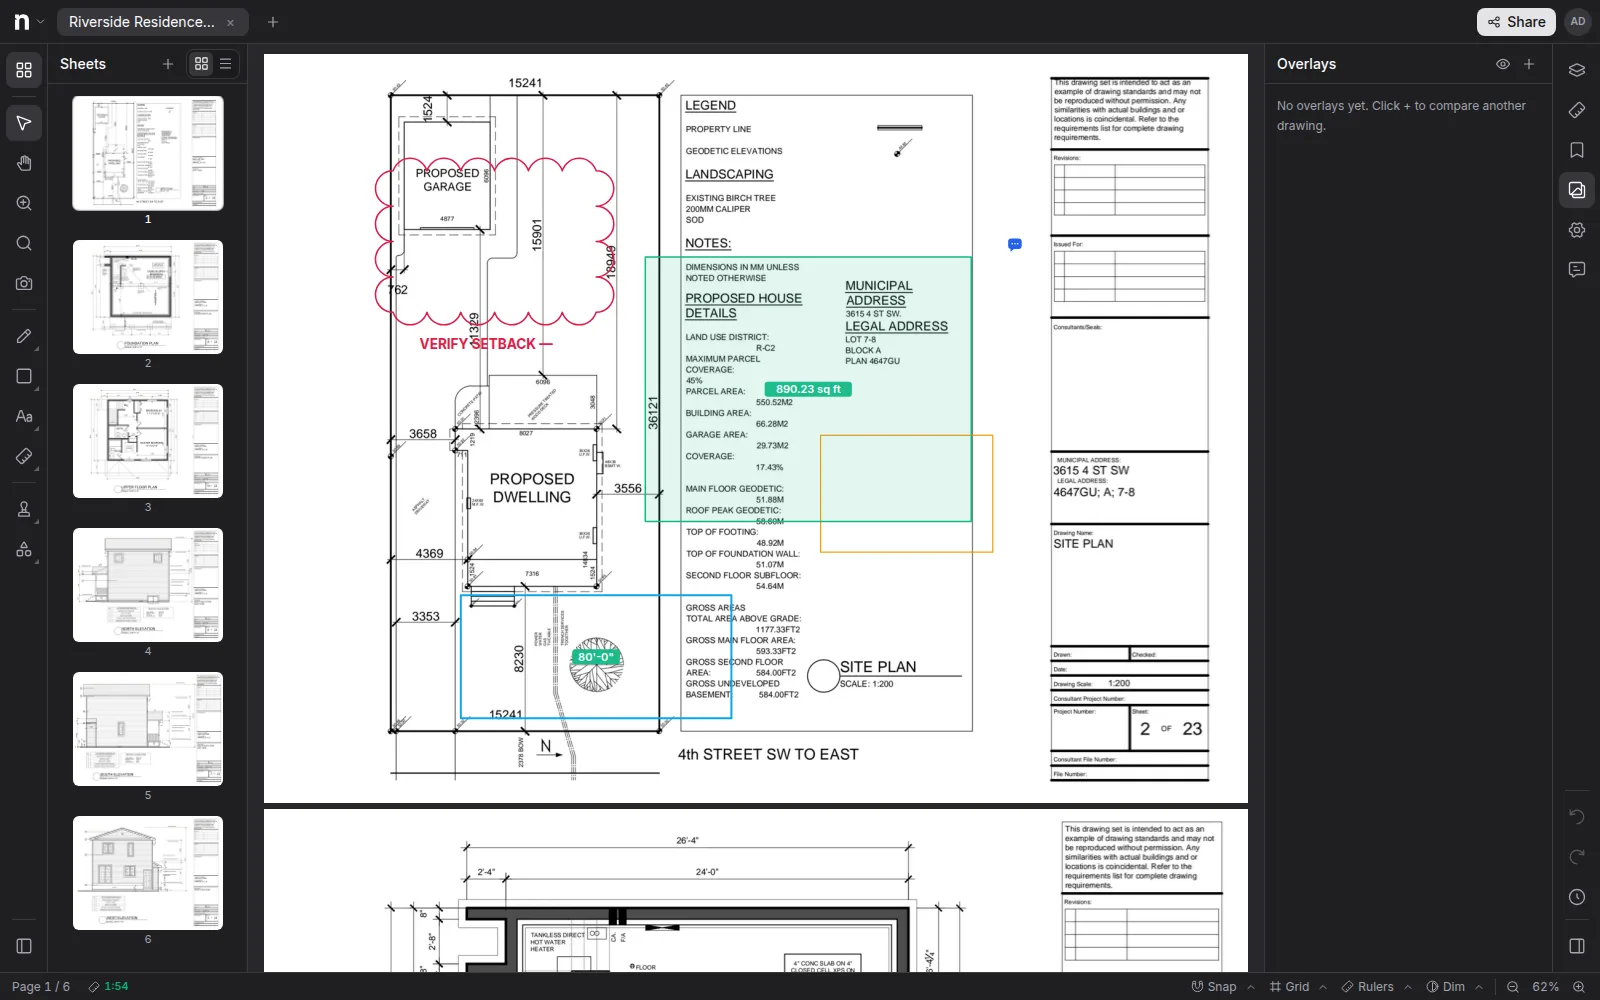
Overlay several sources at once — each gets its own tint color, so you can tell three revisions apart at a glance.
Align it#
A fresh overlay is fitted to the page, which is rarely a perfect match:
- Drag the overlay to move it; use the corner handles to scale and the ring to rotate.
- Two-point align does it precisely: click two points on the overlay, then the same two points on the underlying sheet, and Notch solves the move, scale, and rotation in one step. Grid intersections and column lines make good anchor points.
- Crop trims the overlay to just the region you care about — a title block or a single detail.
If both pages are calibrated, the overlay arrives pre-scaled so equal real-world lengths line up.
Read the result#
Where the sheets agree, the tinted line work sits exactly on the original. Where they disagree, you see color with nothing under it (new work) or original lines with no tint on them (removed work). Adjust each overlay's opacity and tint in Properties, and toggle overlays on and off from the panel or their layer.
Mark up what changed#
The overlay is just another object under your markups, so run your normal review on top: cloud the changes, drop comments (Q), and measure anything the revision moved. When you're done, hide the overlay and the markups stay.